Wednesday 21st October 2020 – Easier hikes to explore both the Tasman Lakes and do a leisurely walk down Hooker Valley.

Blue Lakes near Tasman Lake

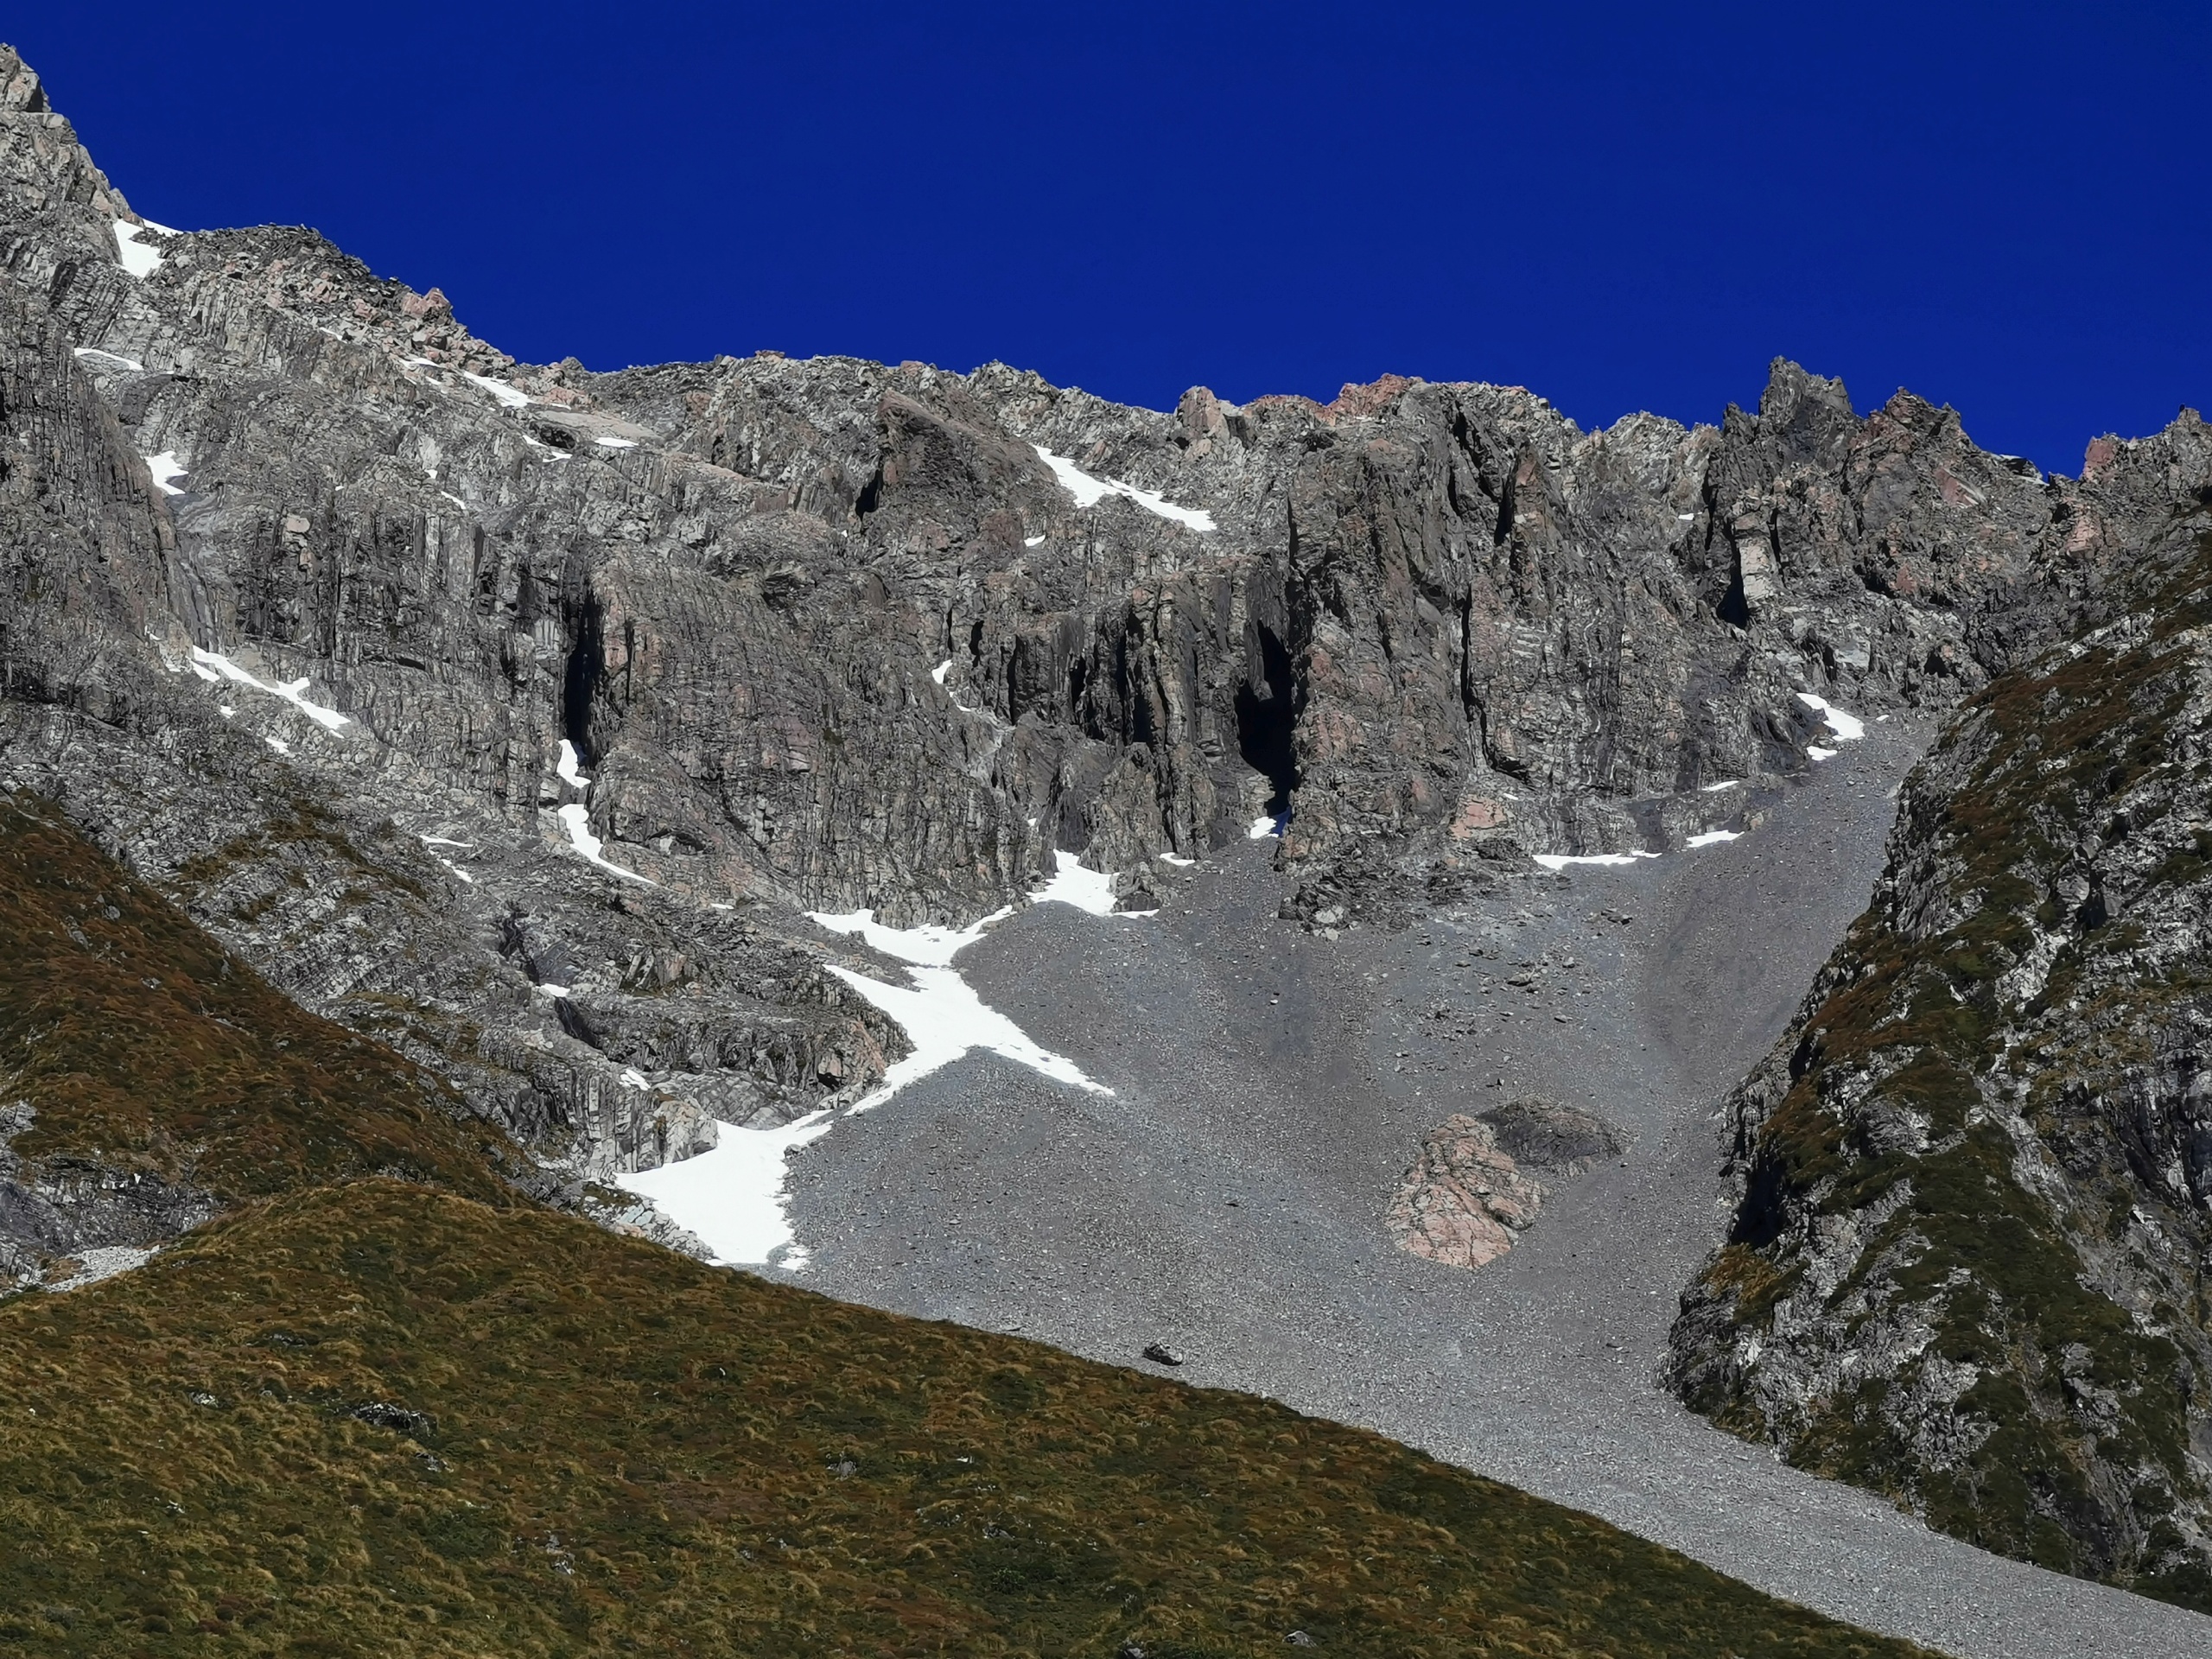
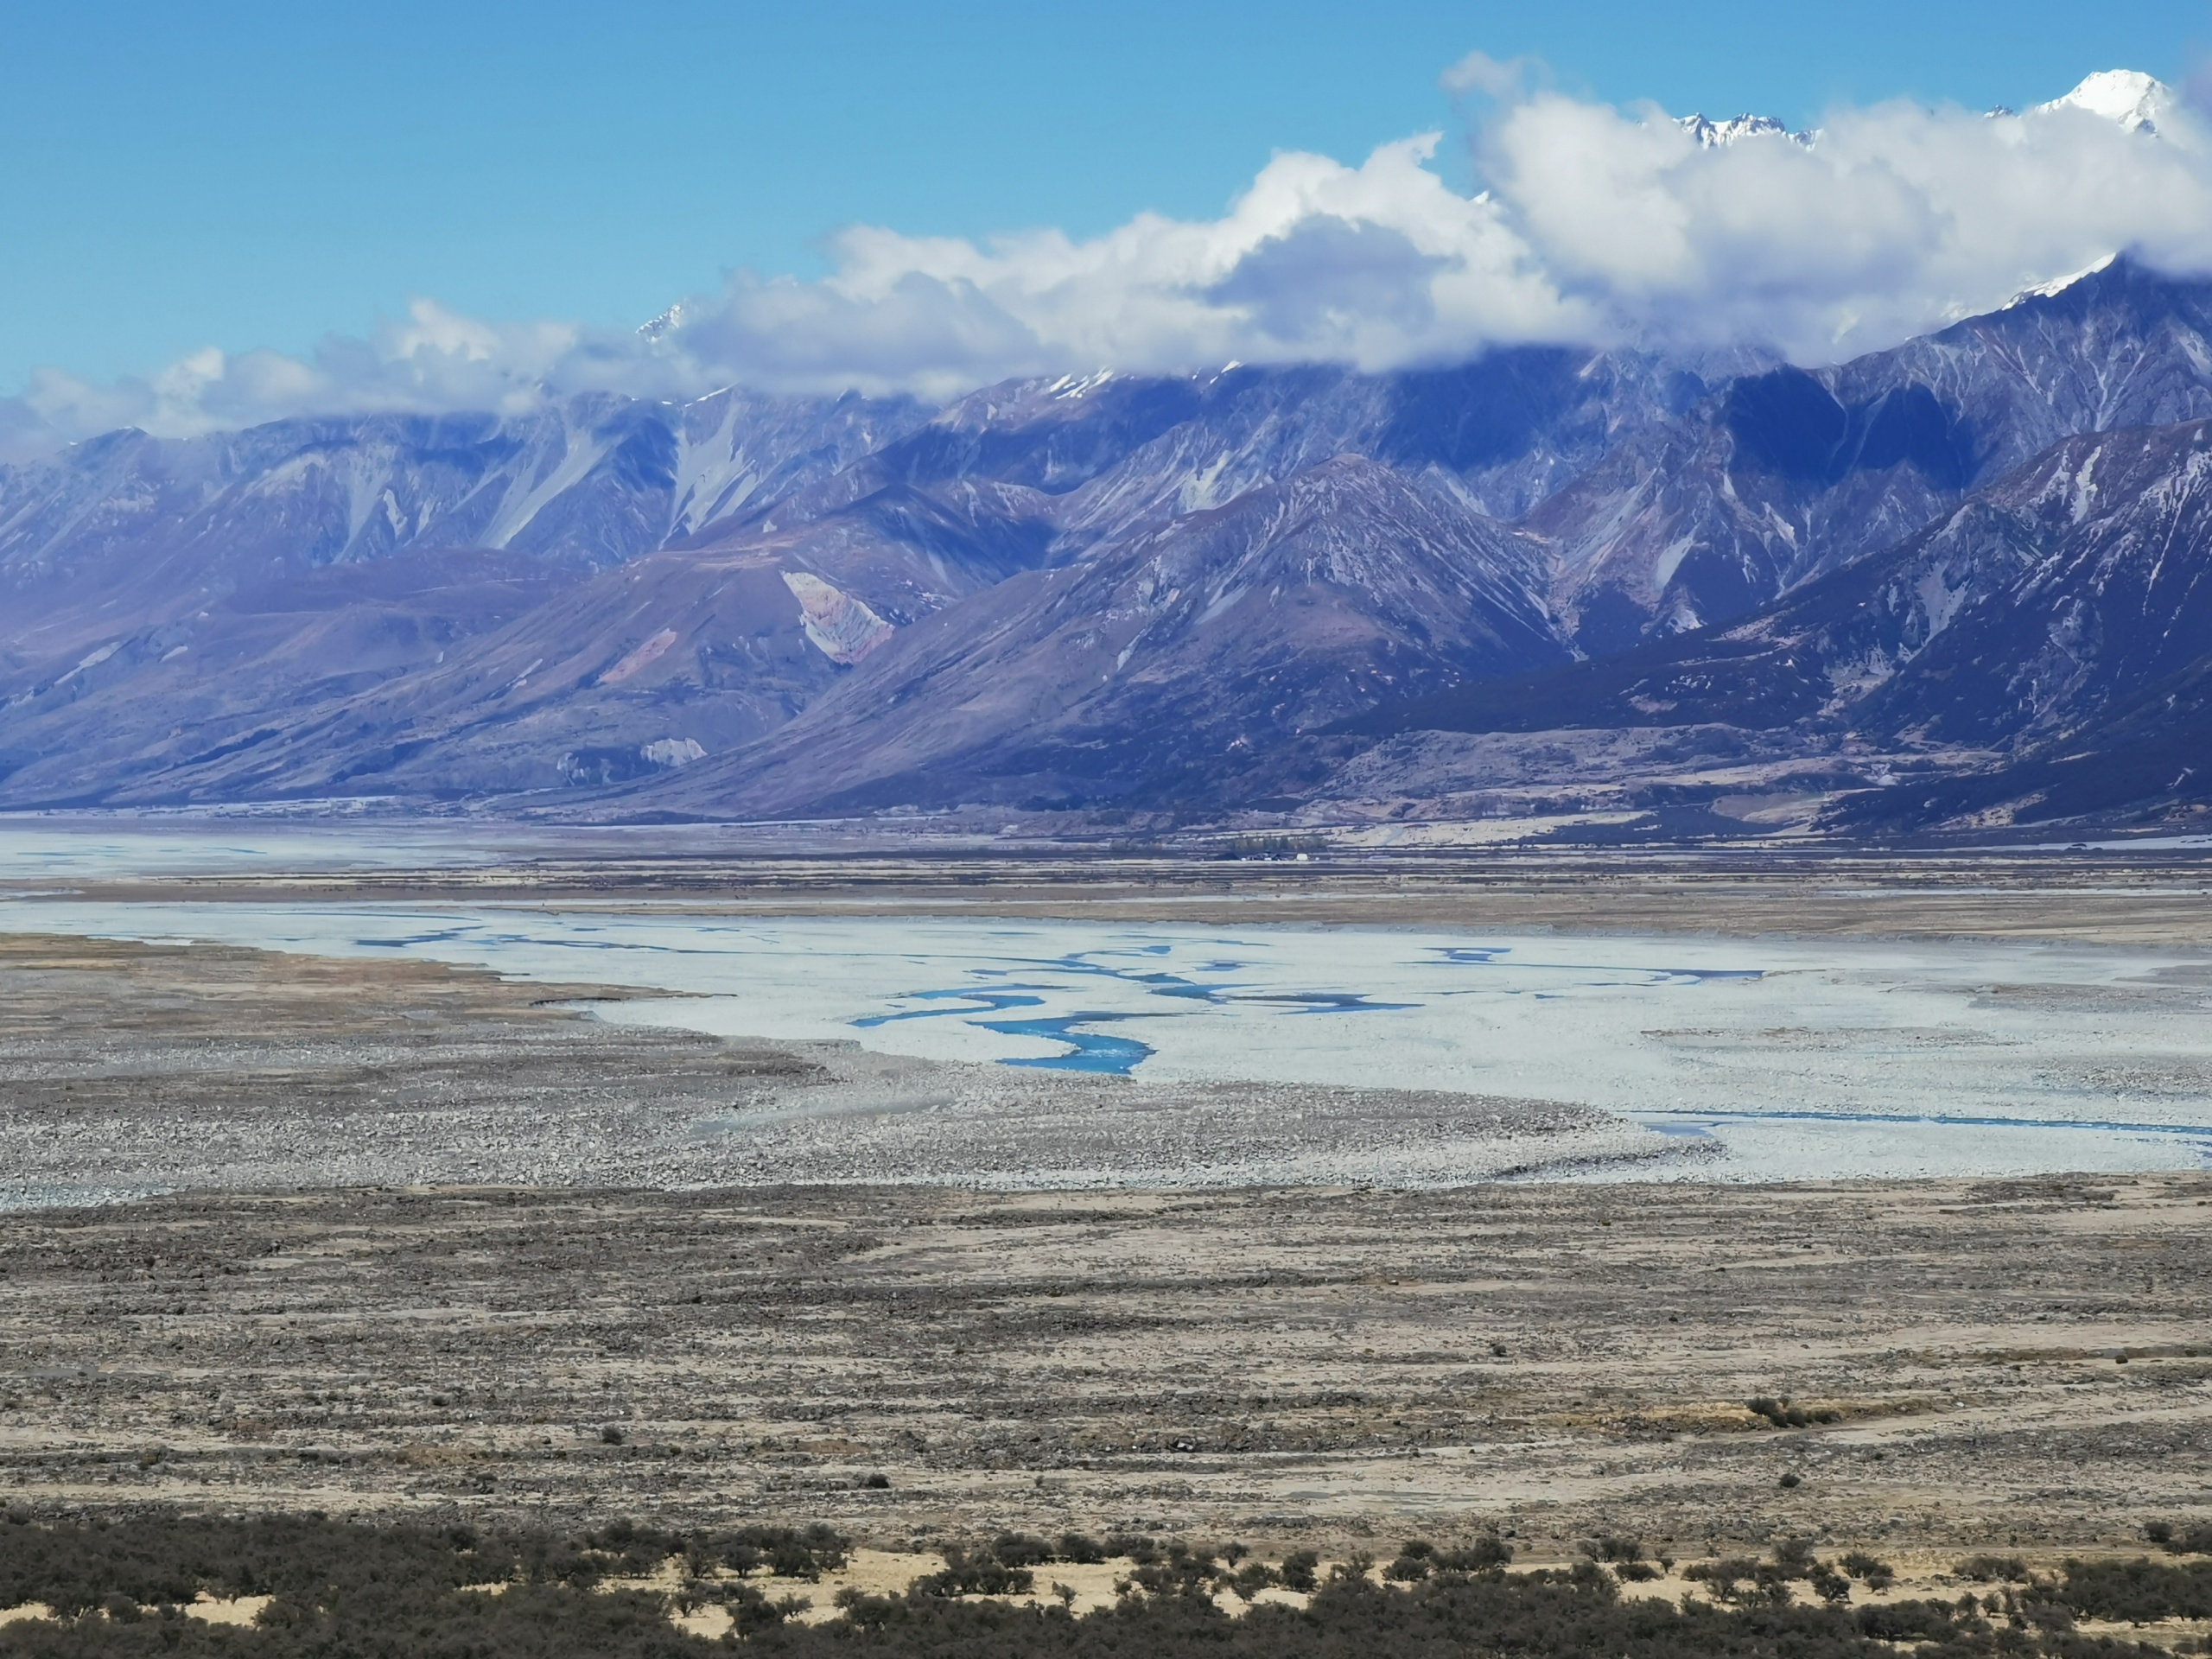
Looking back down the valley

Tasman Lake

Tasman Glacier

Blue Lakes near Tasman Lake

Blue Lakes near Tasman Lake

Tasman Lake

Tasman Lake

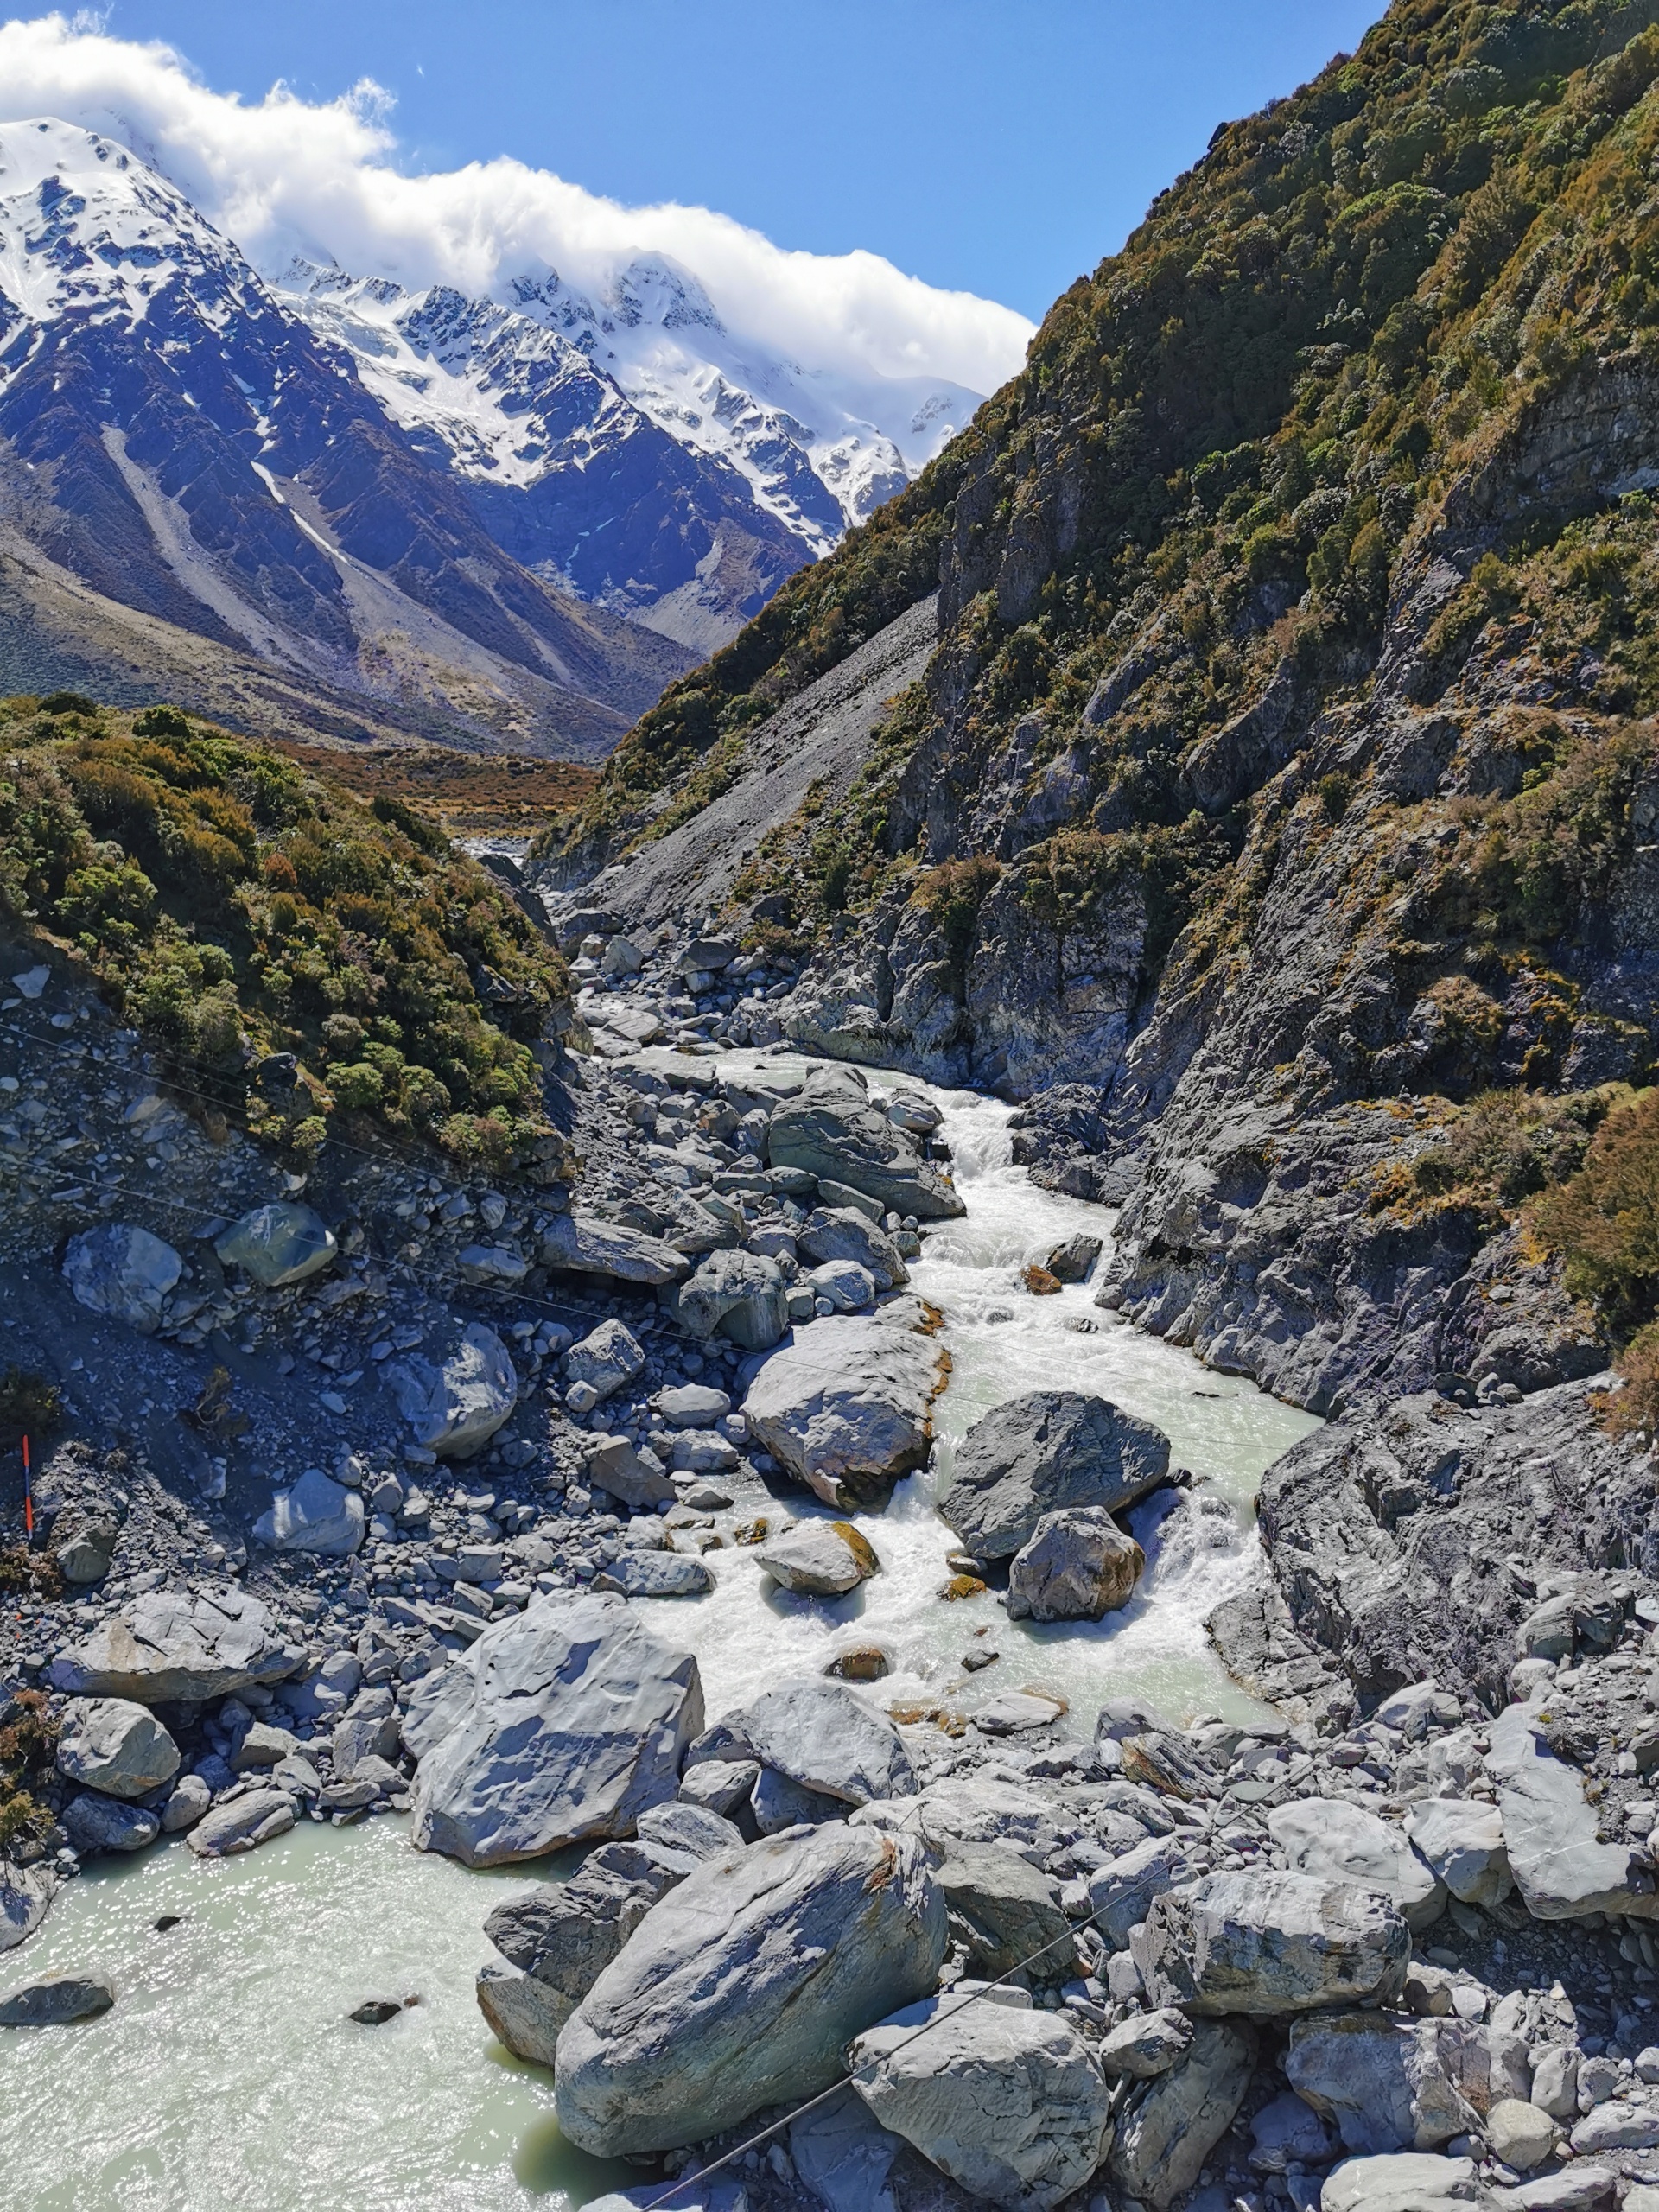
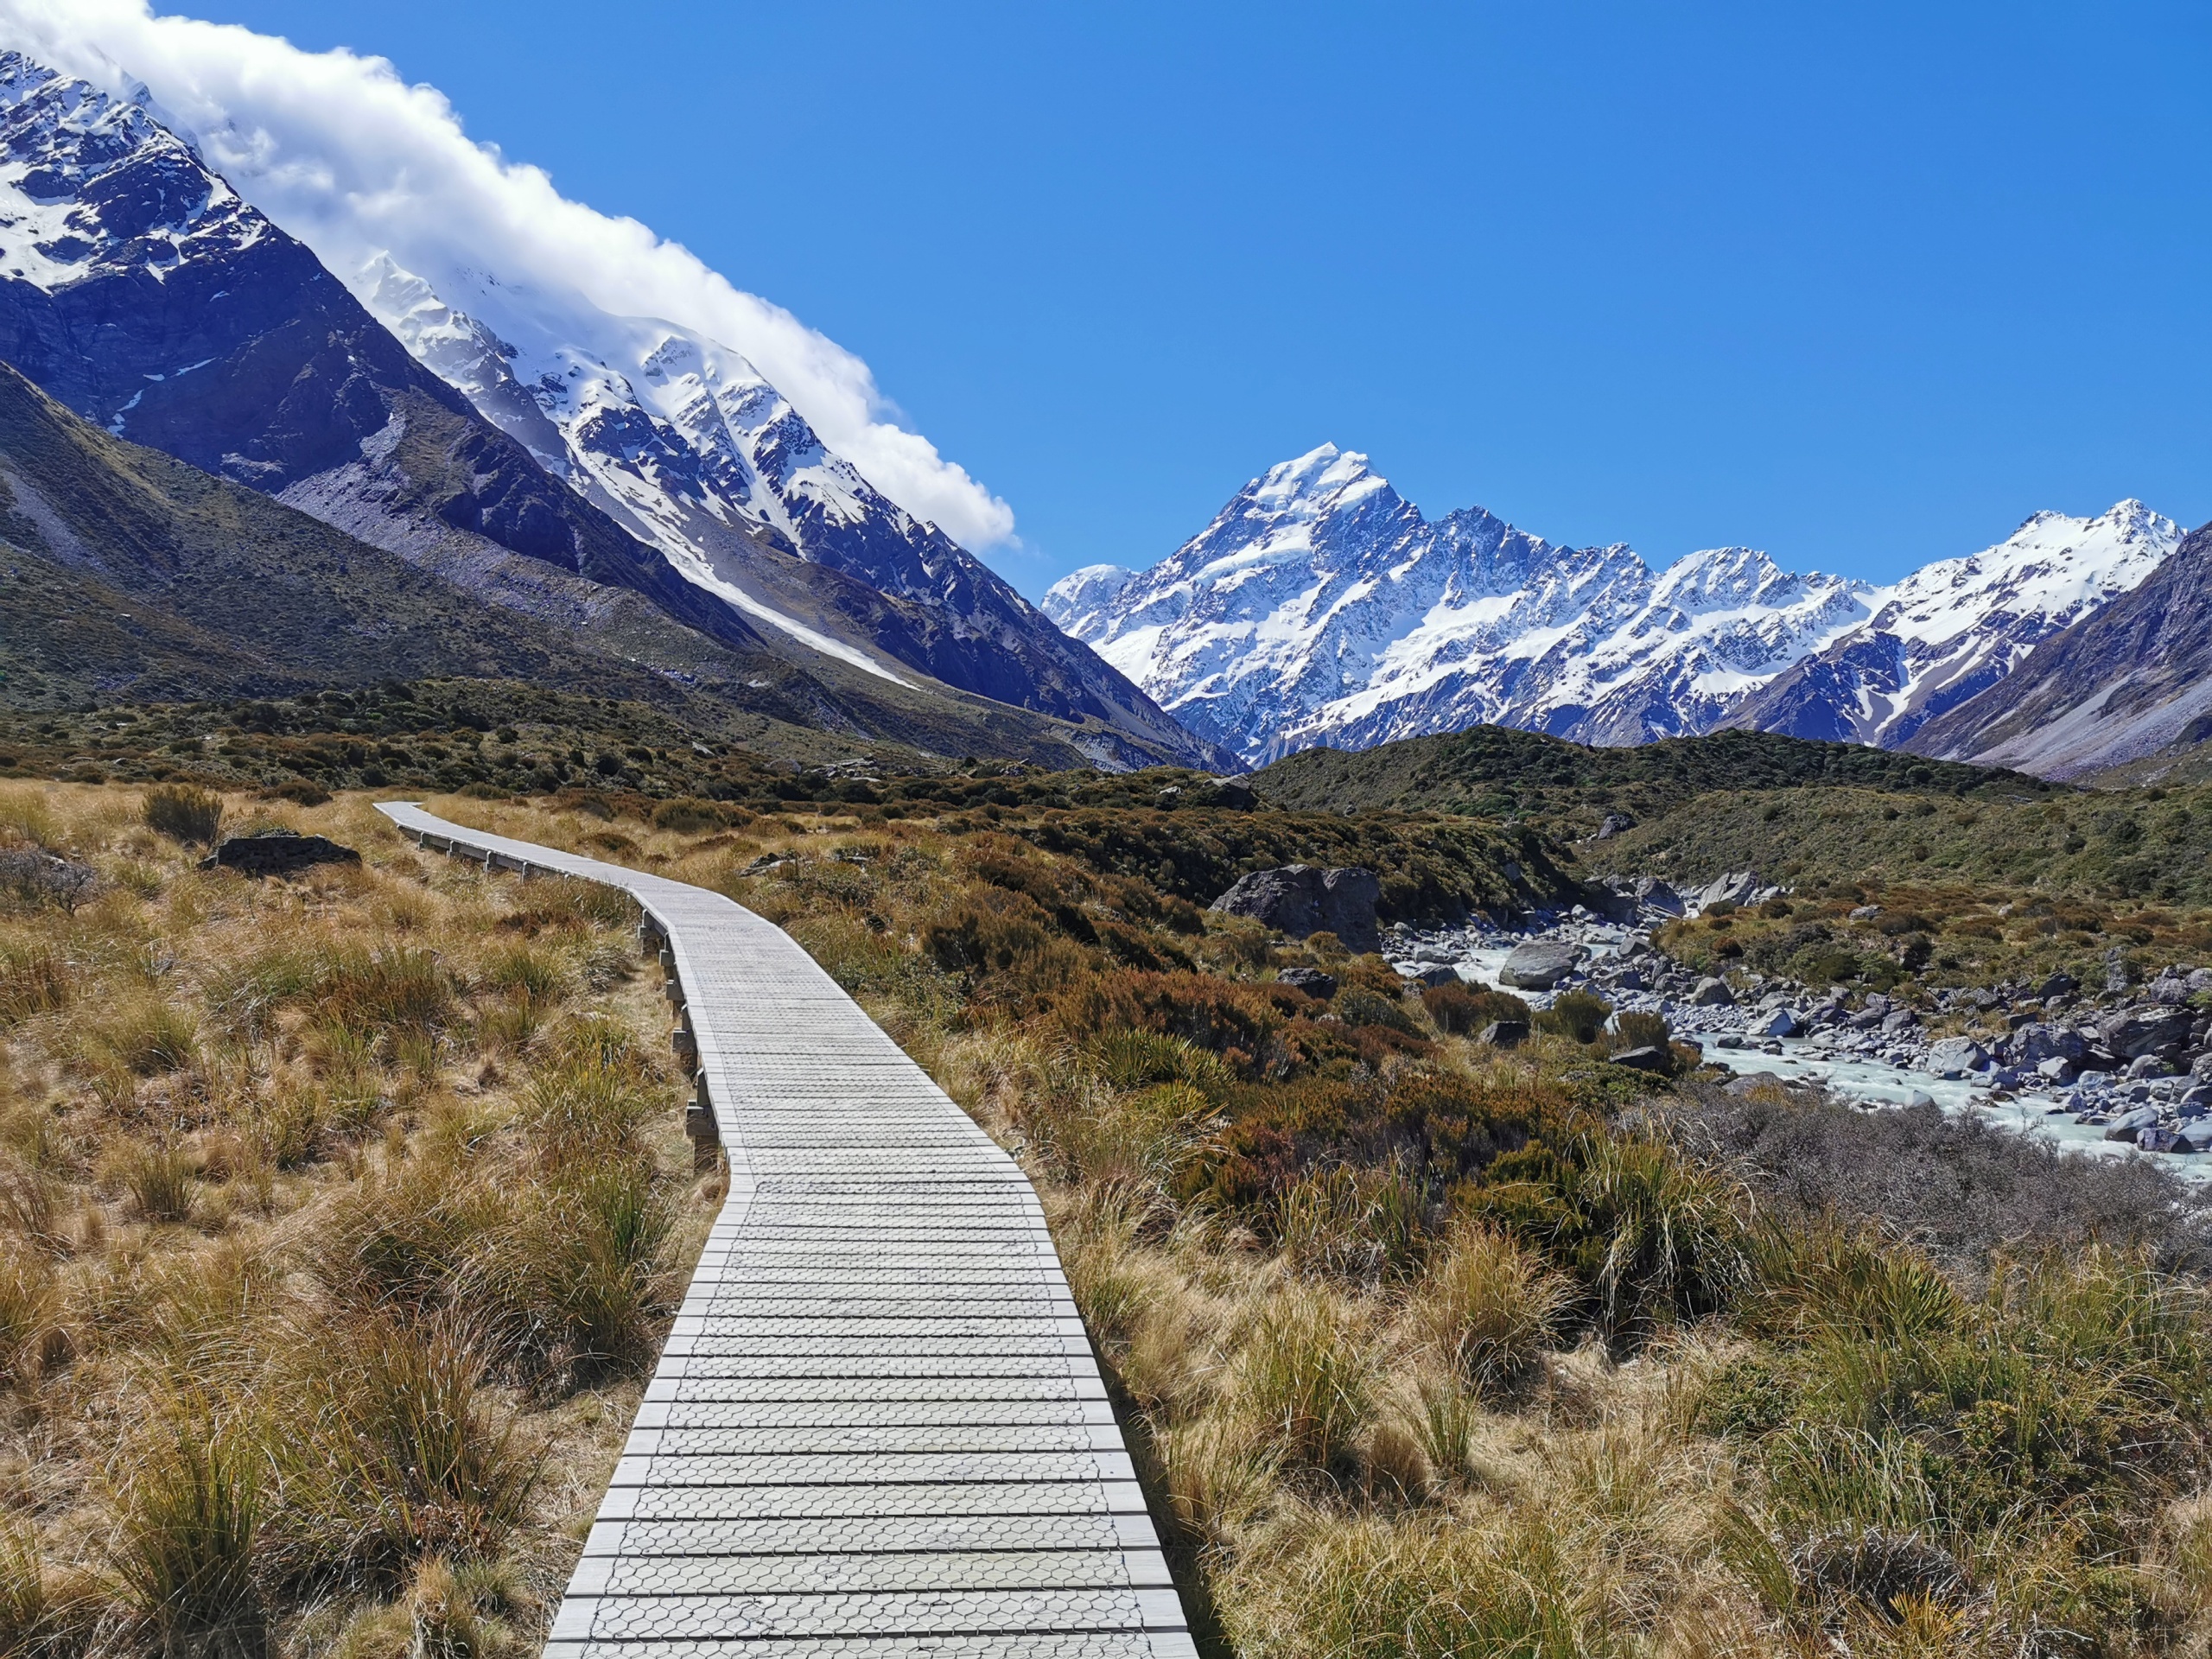
Hooker Valley Track

First of Three swing bridges along Hooker Valley

Hooker Valley Track

Hooker Valley Track
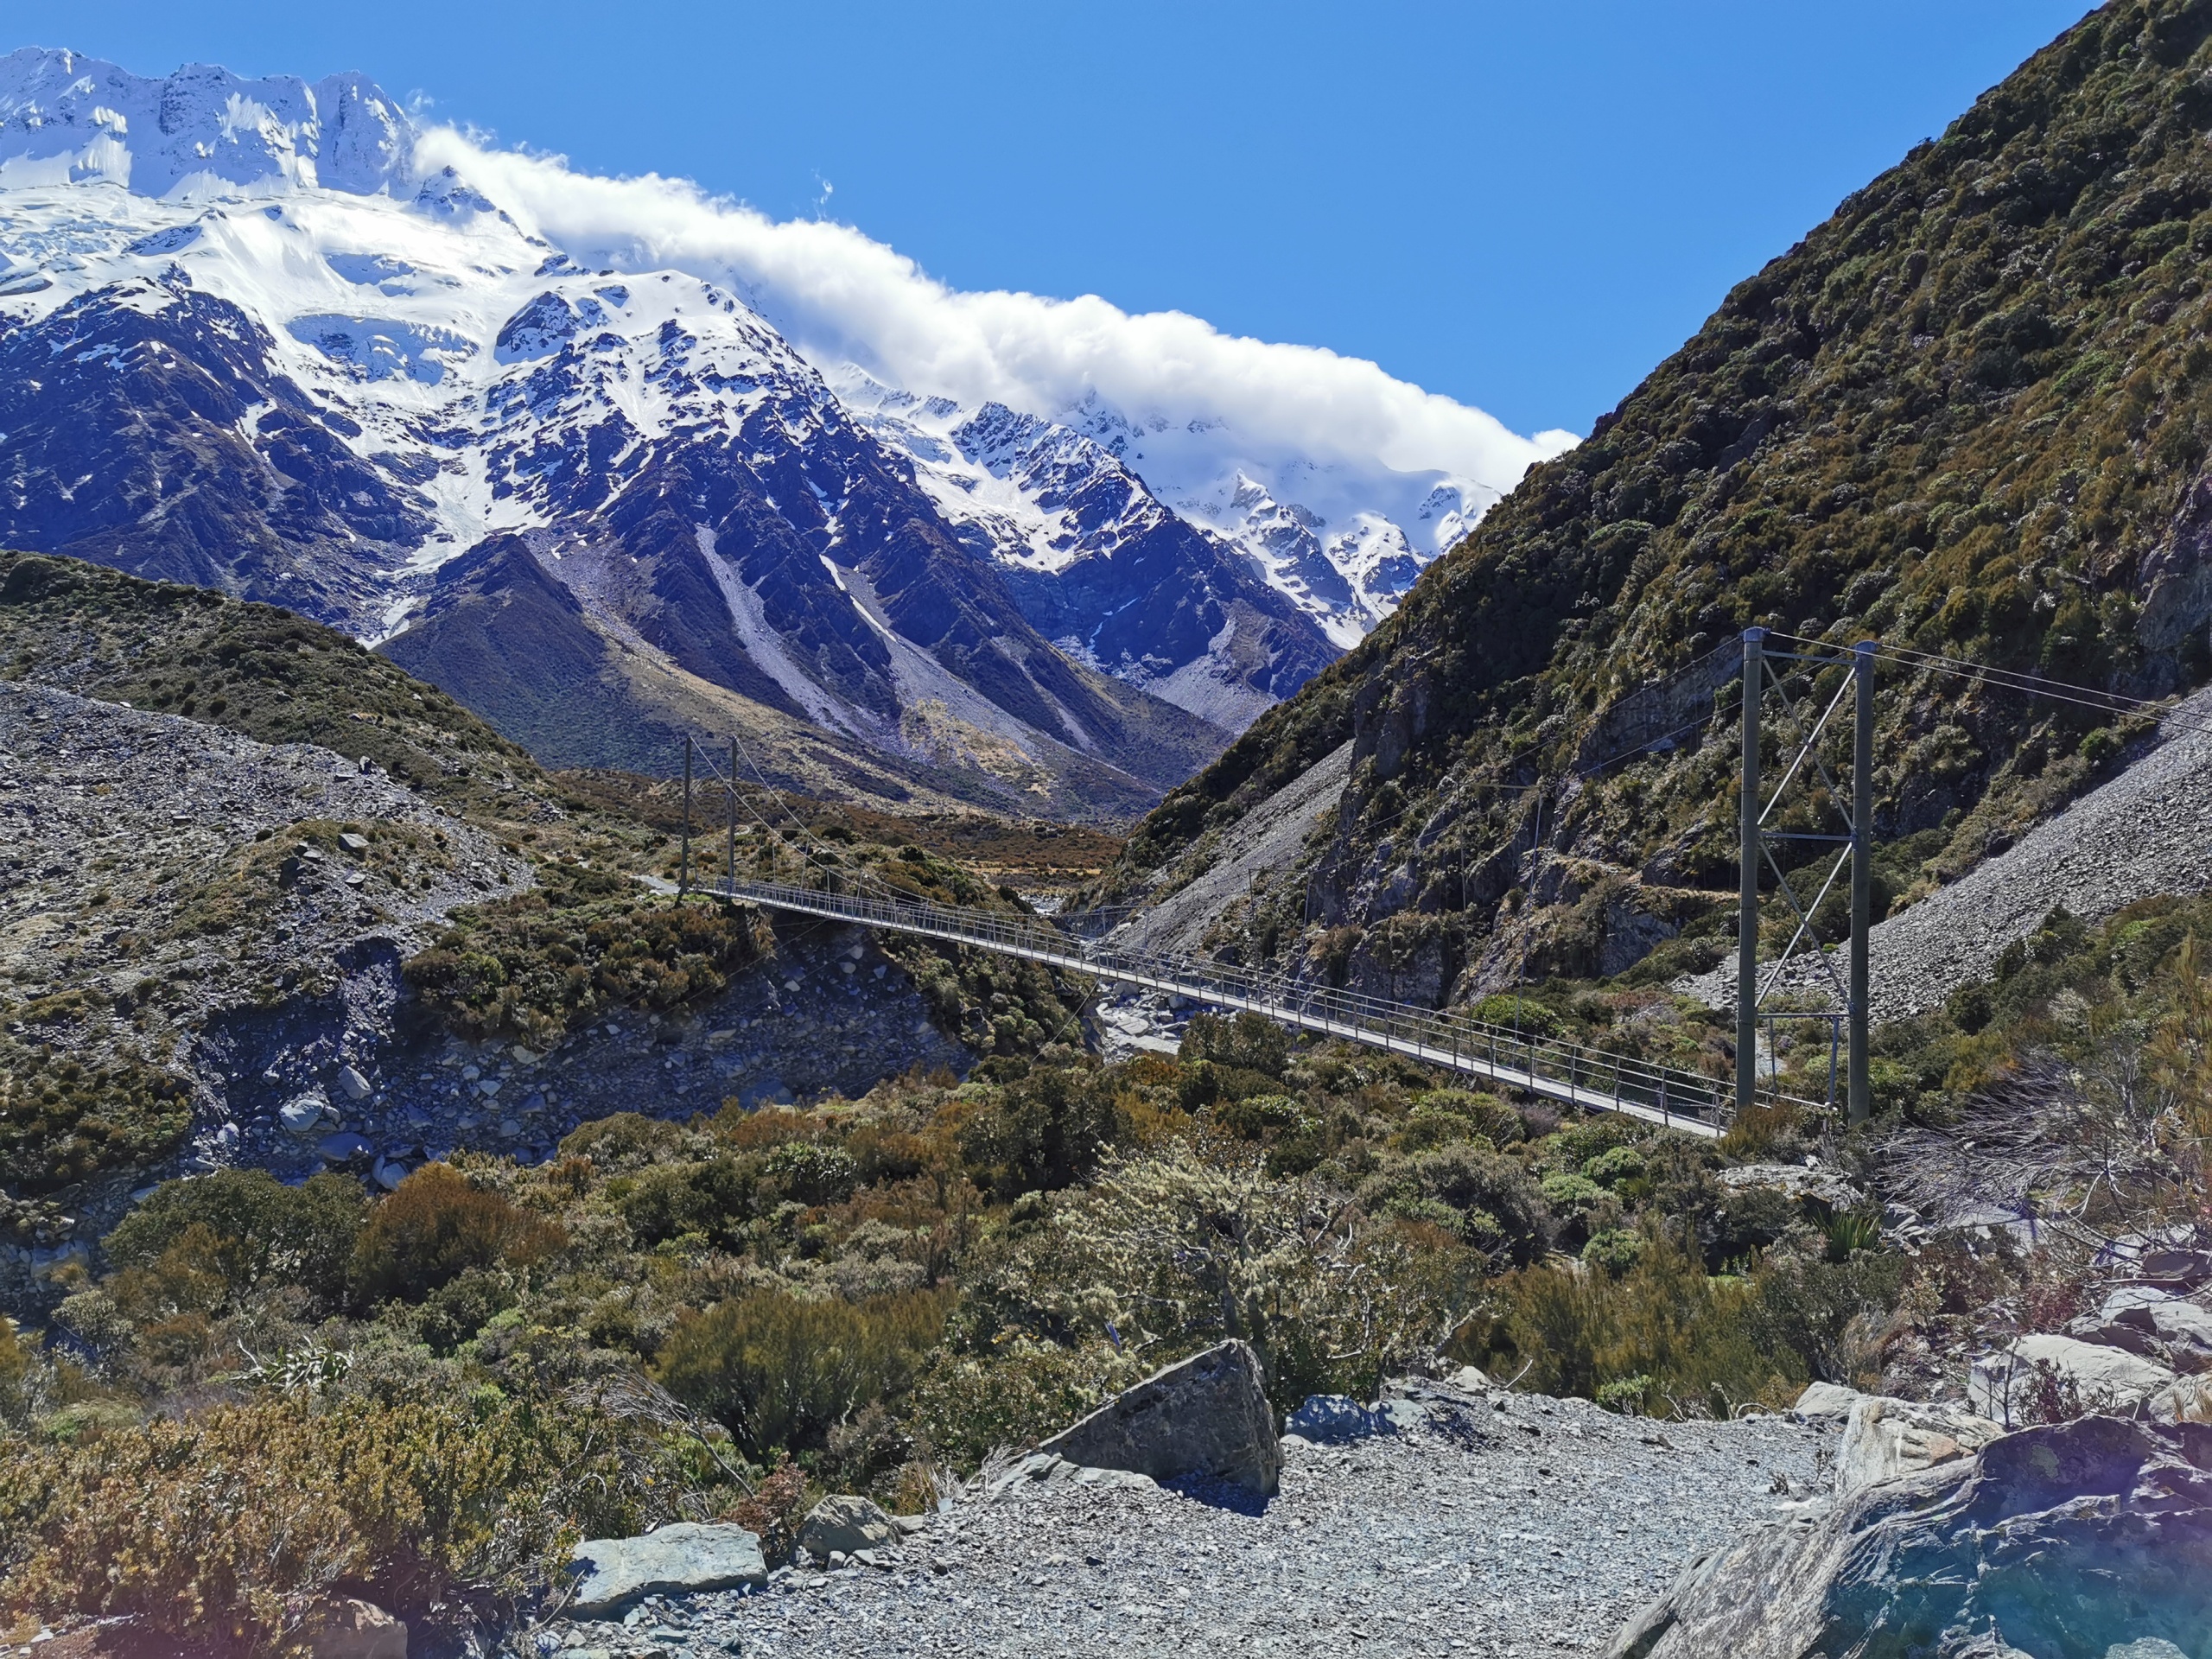

One of Three swing bridges along Hooker Valley
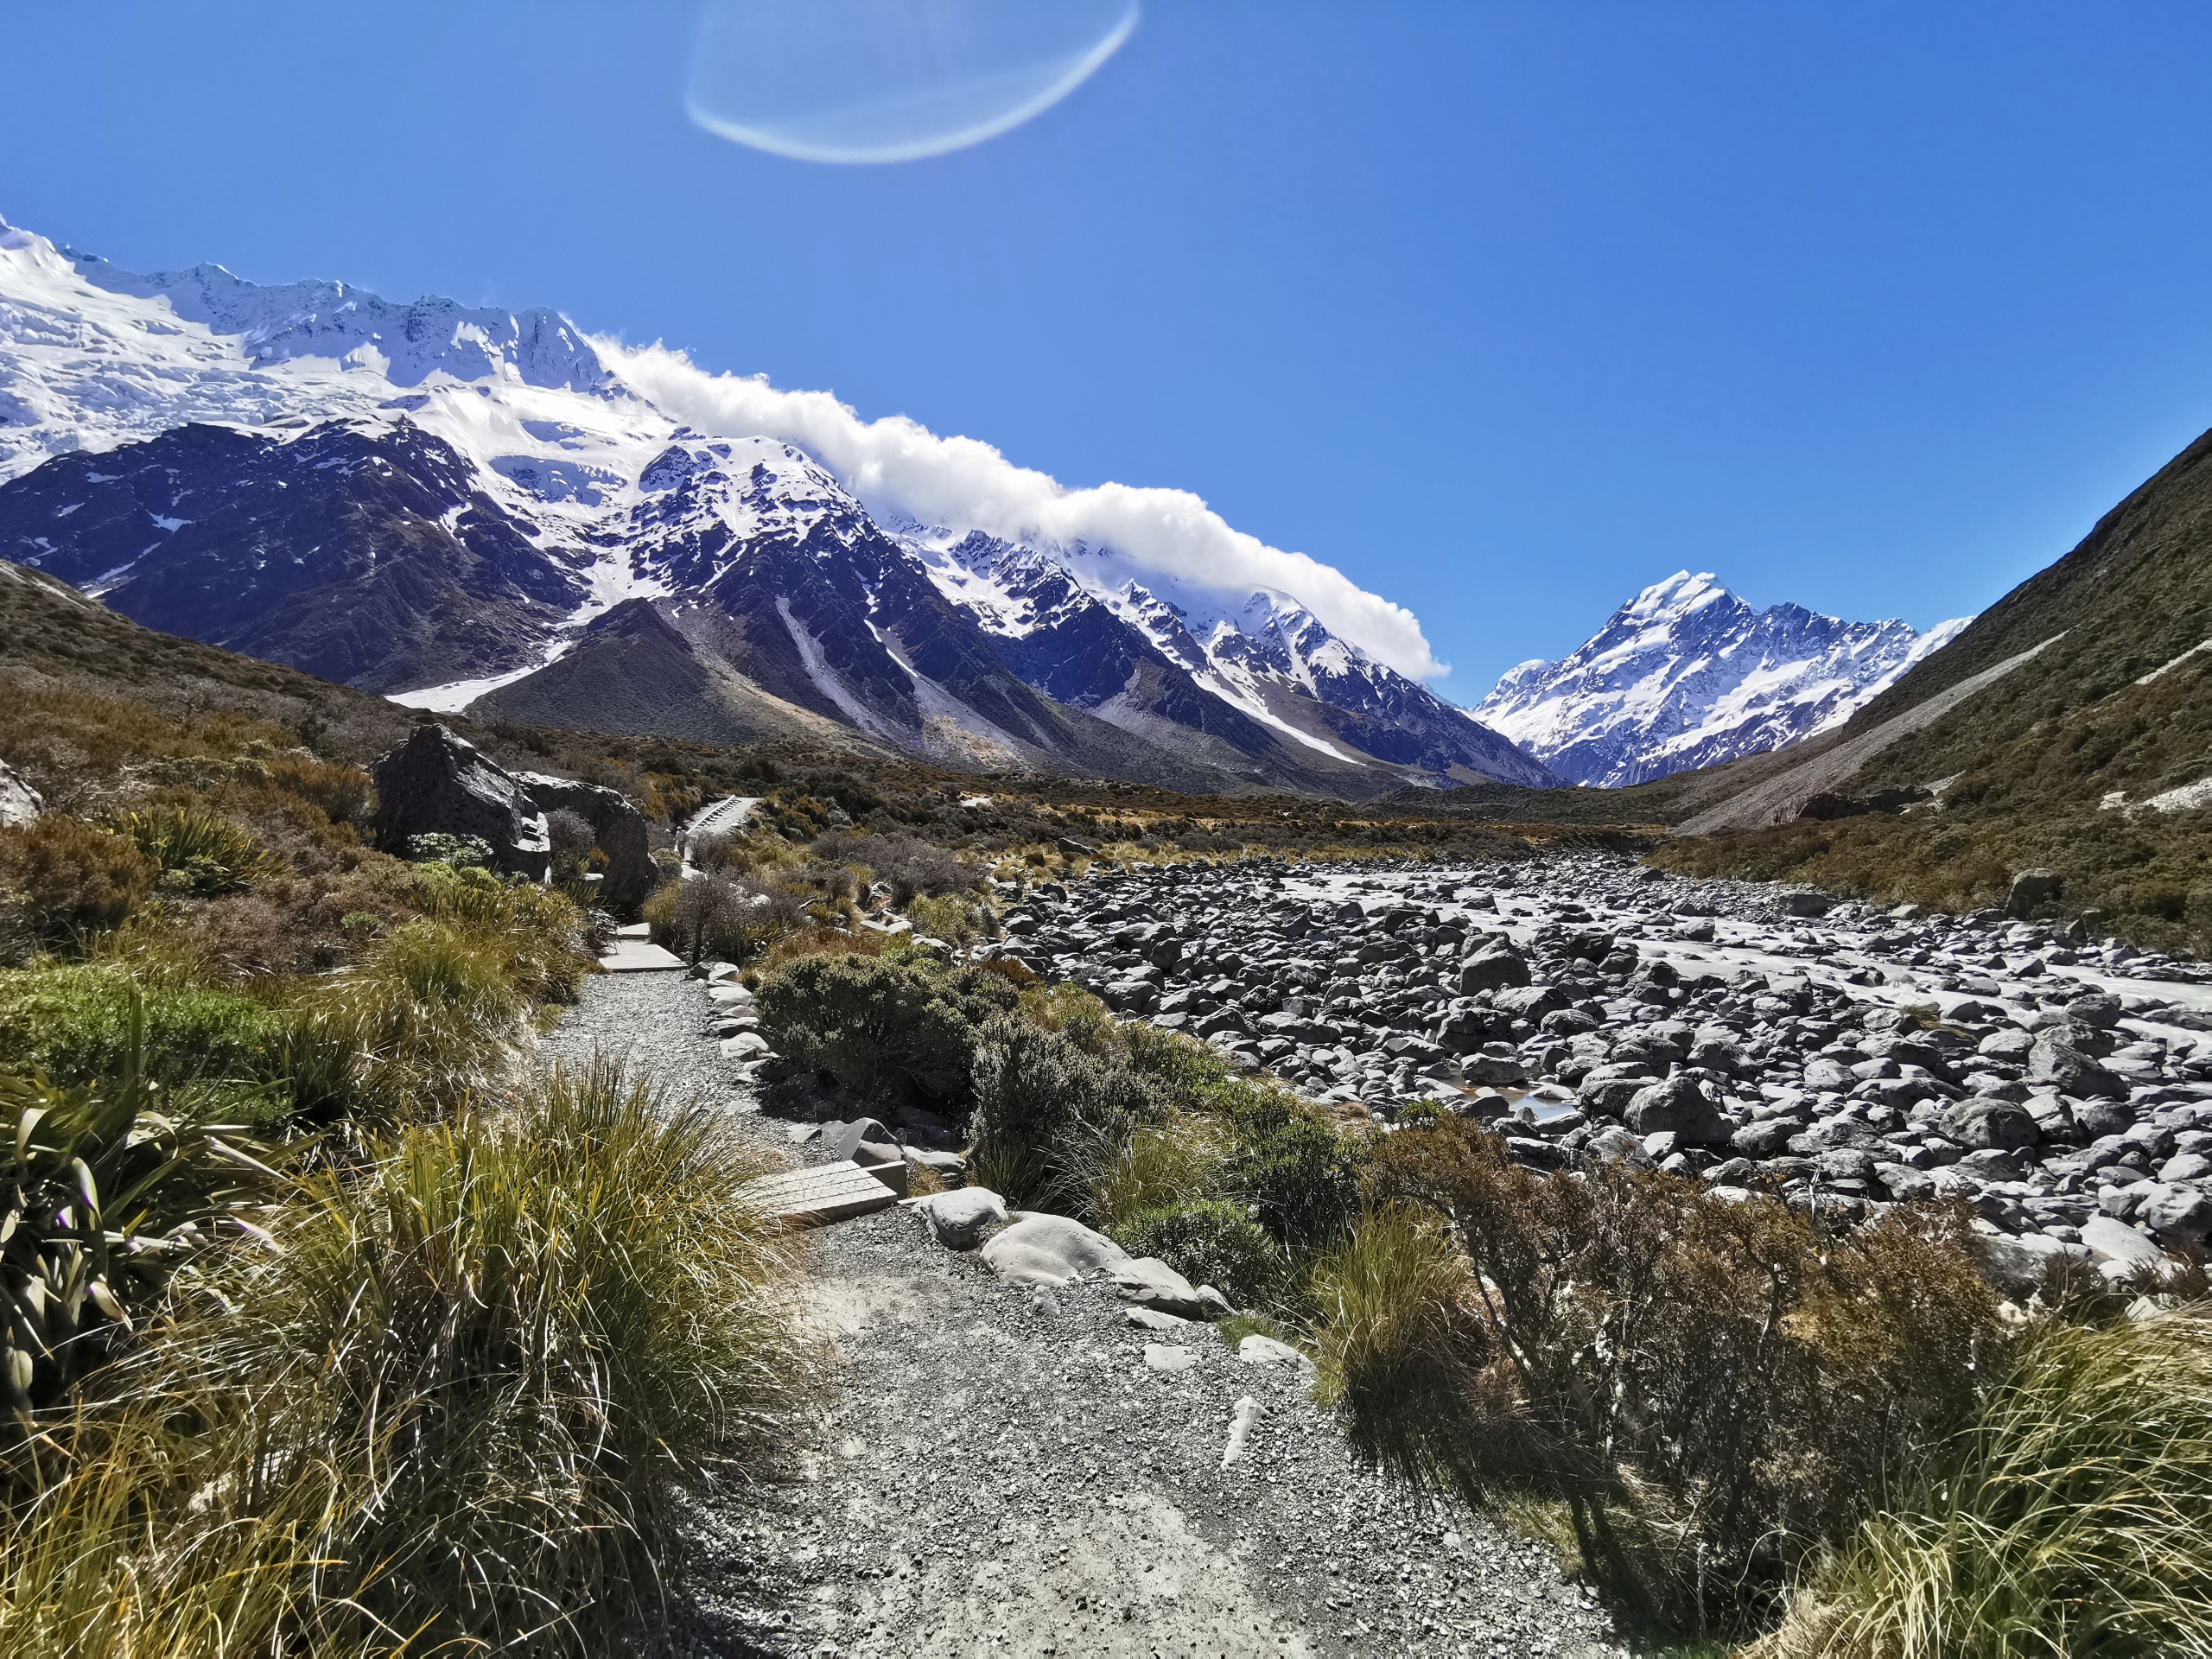

Hooker Valley looking towards Aoraki Mount Cook

Hooker Valley looking towards Aoraki Mount Cook

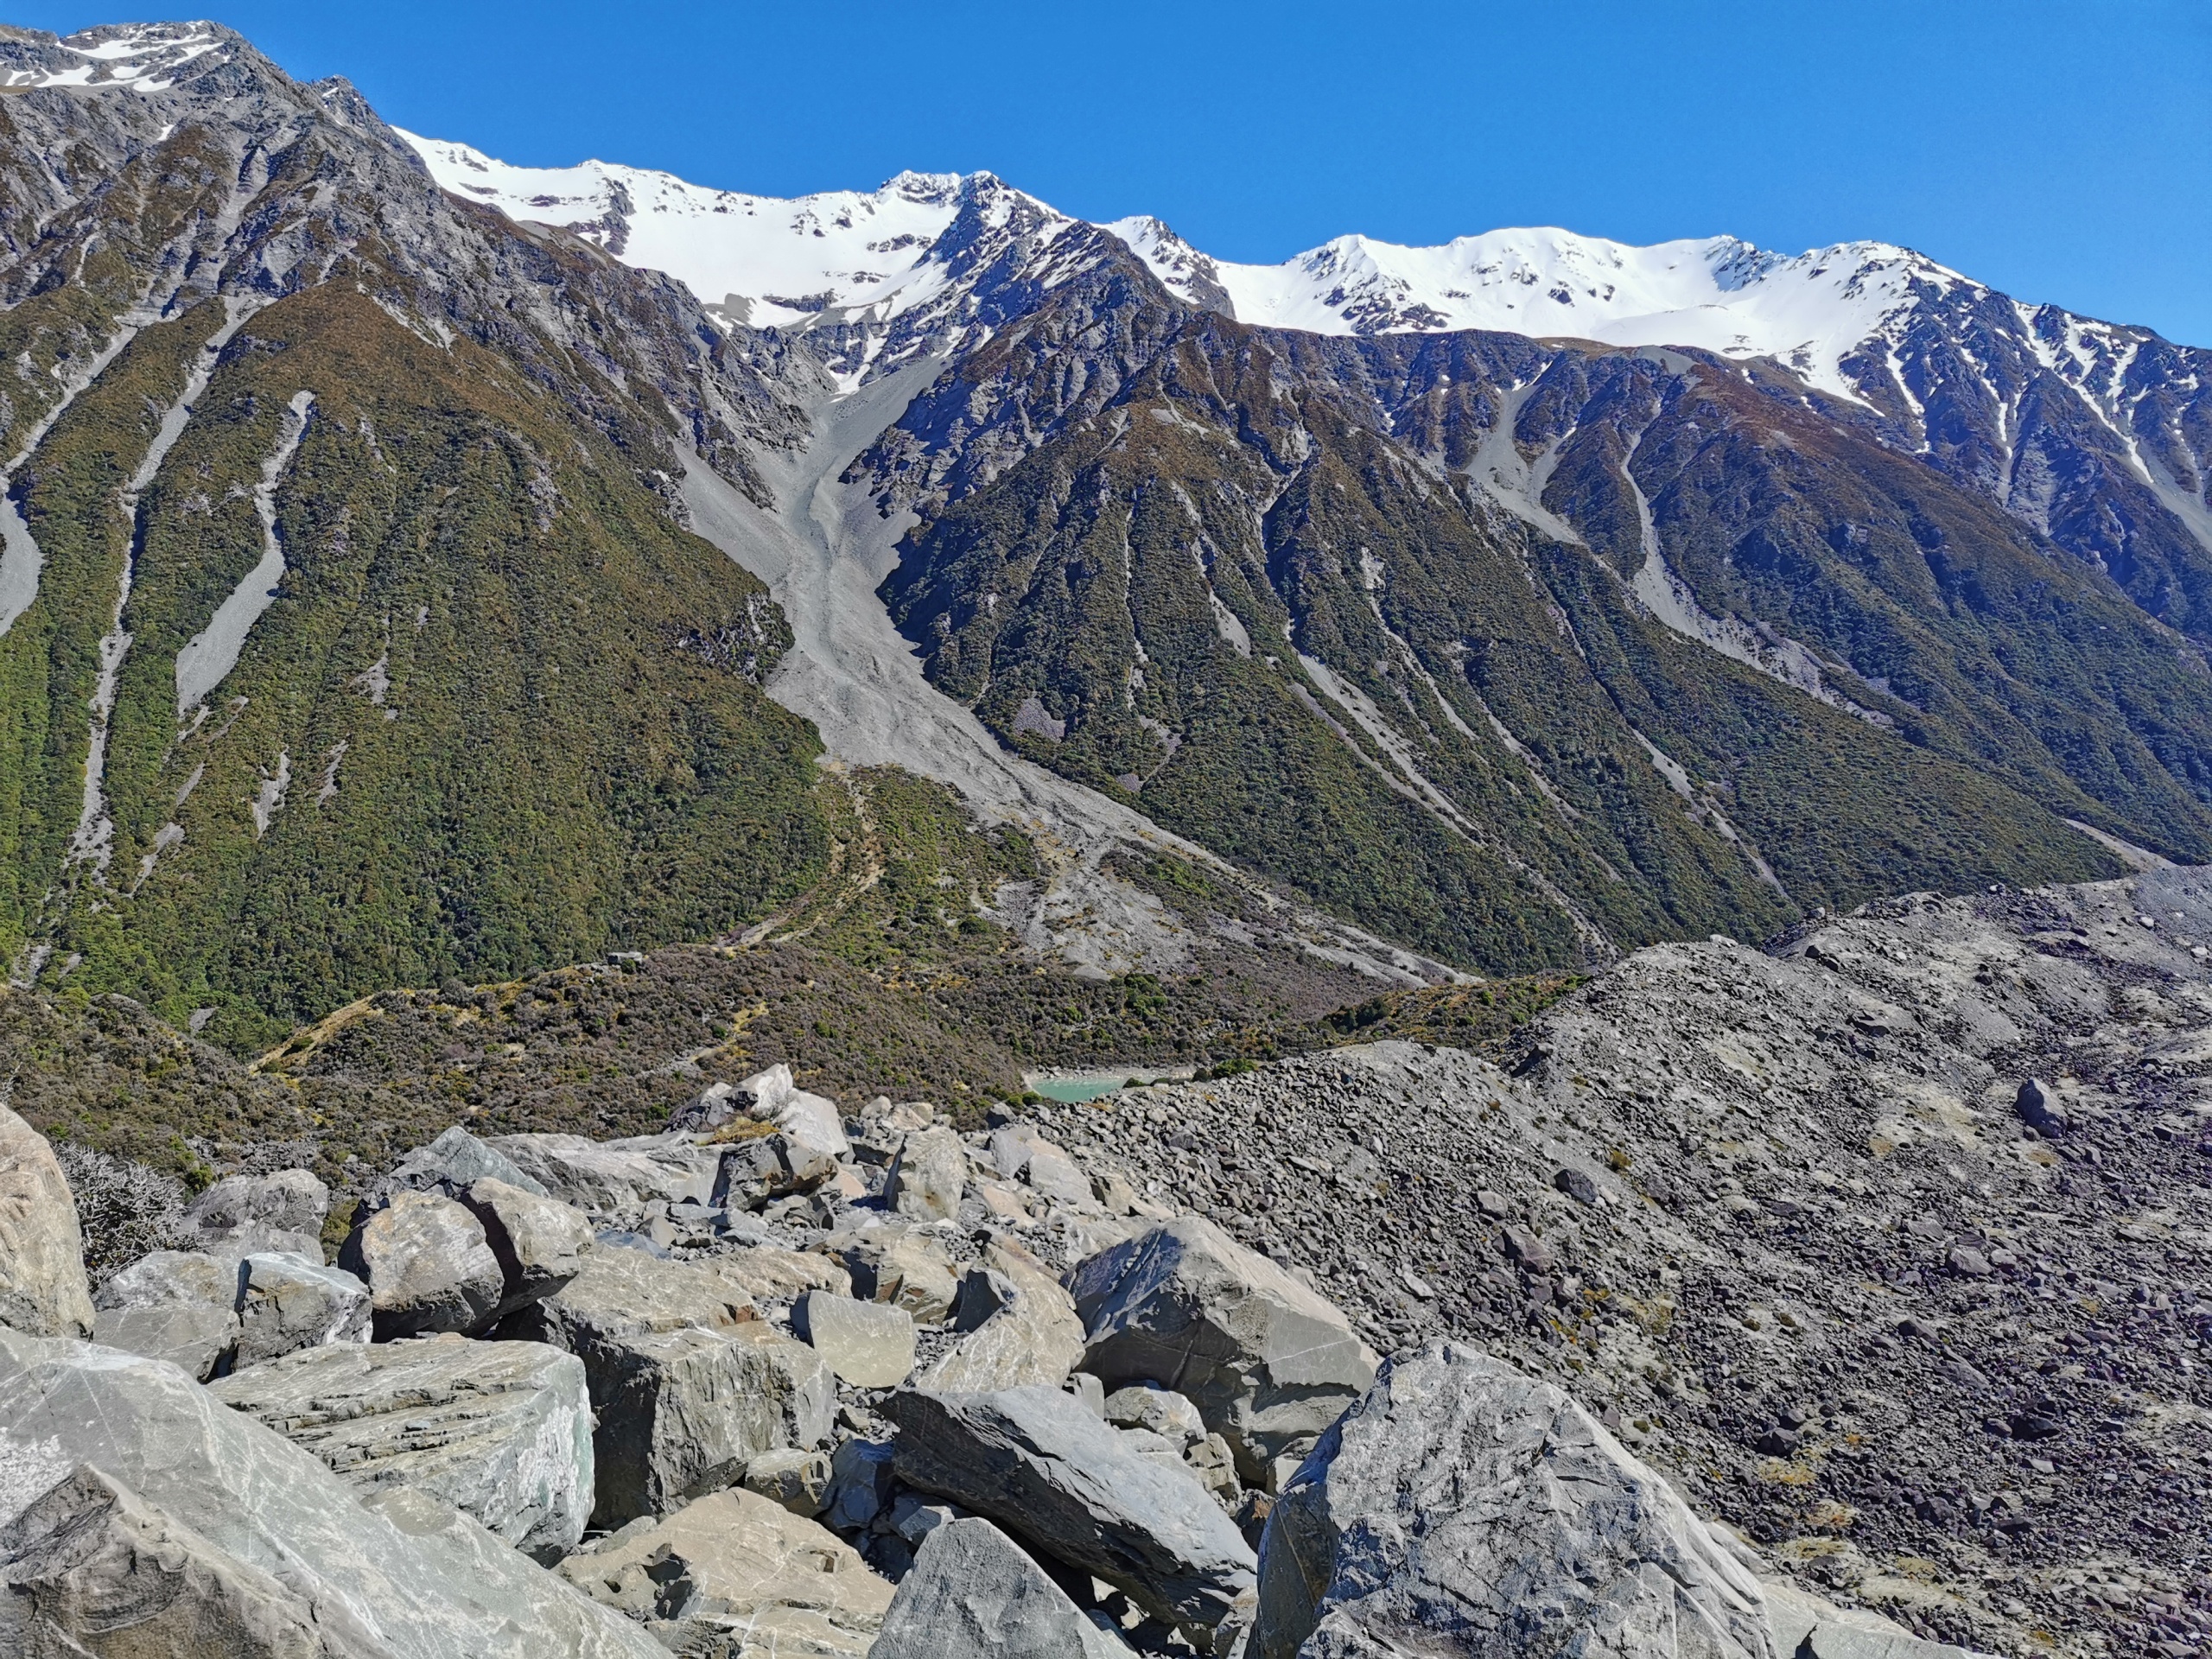
Alpine tarn in Hooker Valley

Hooker Valley looking towards Aoraki Mount Cook

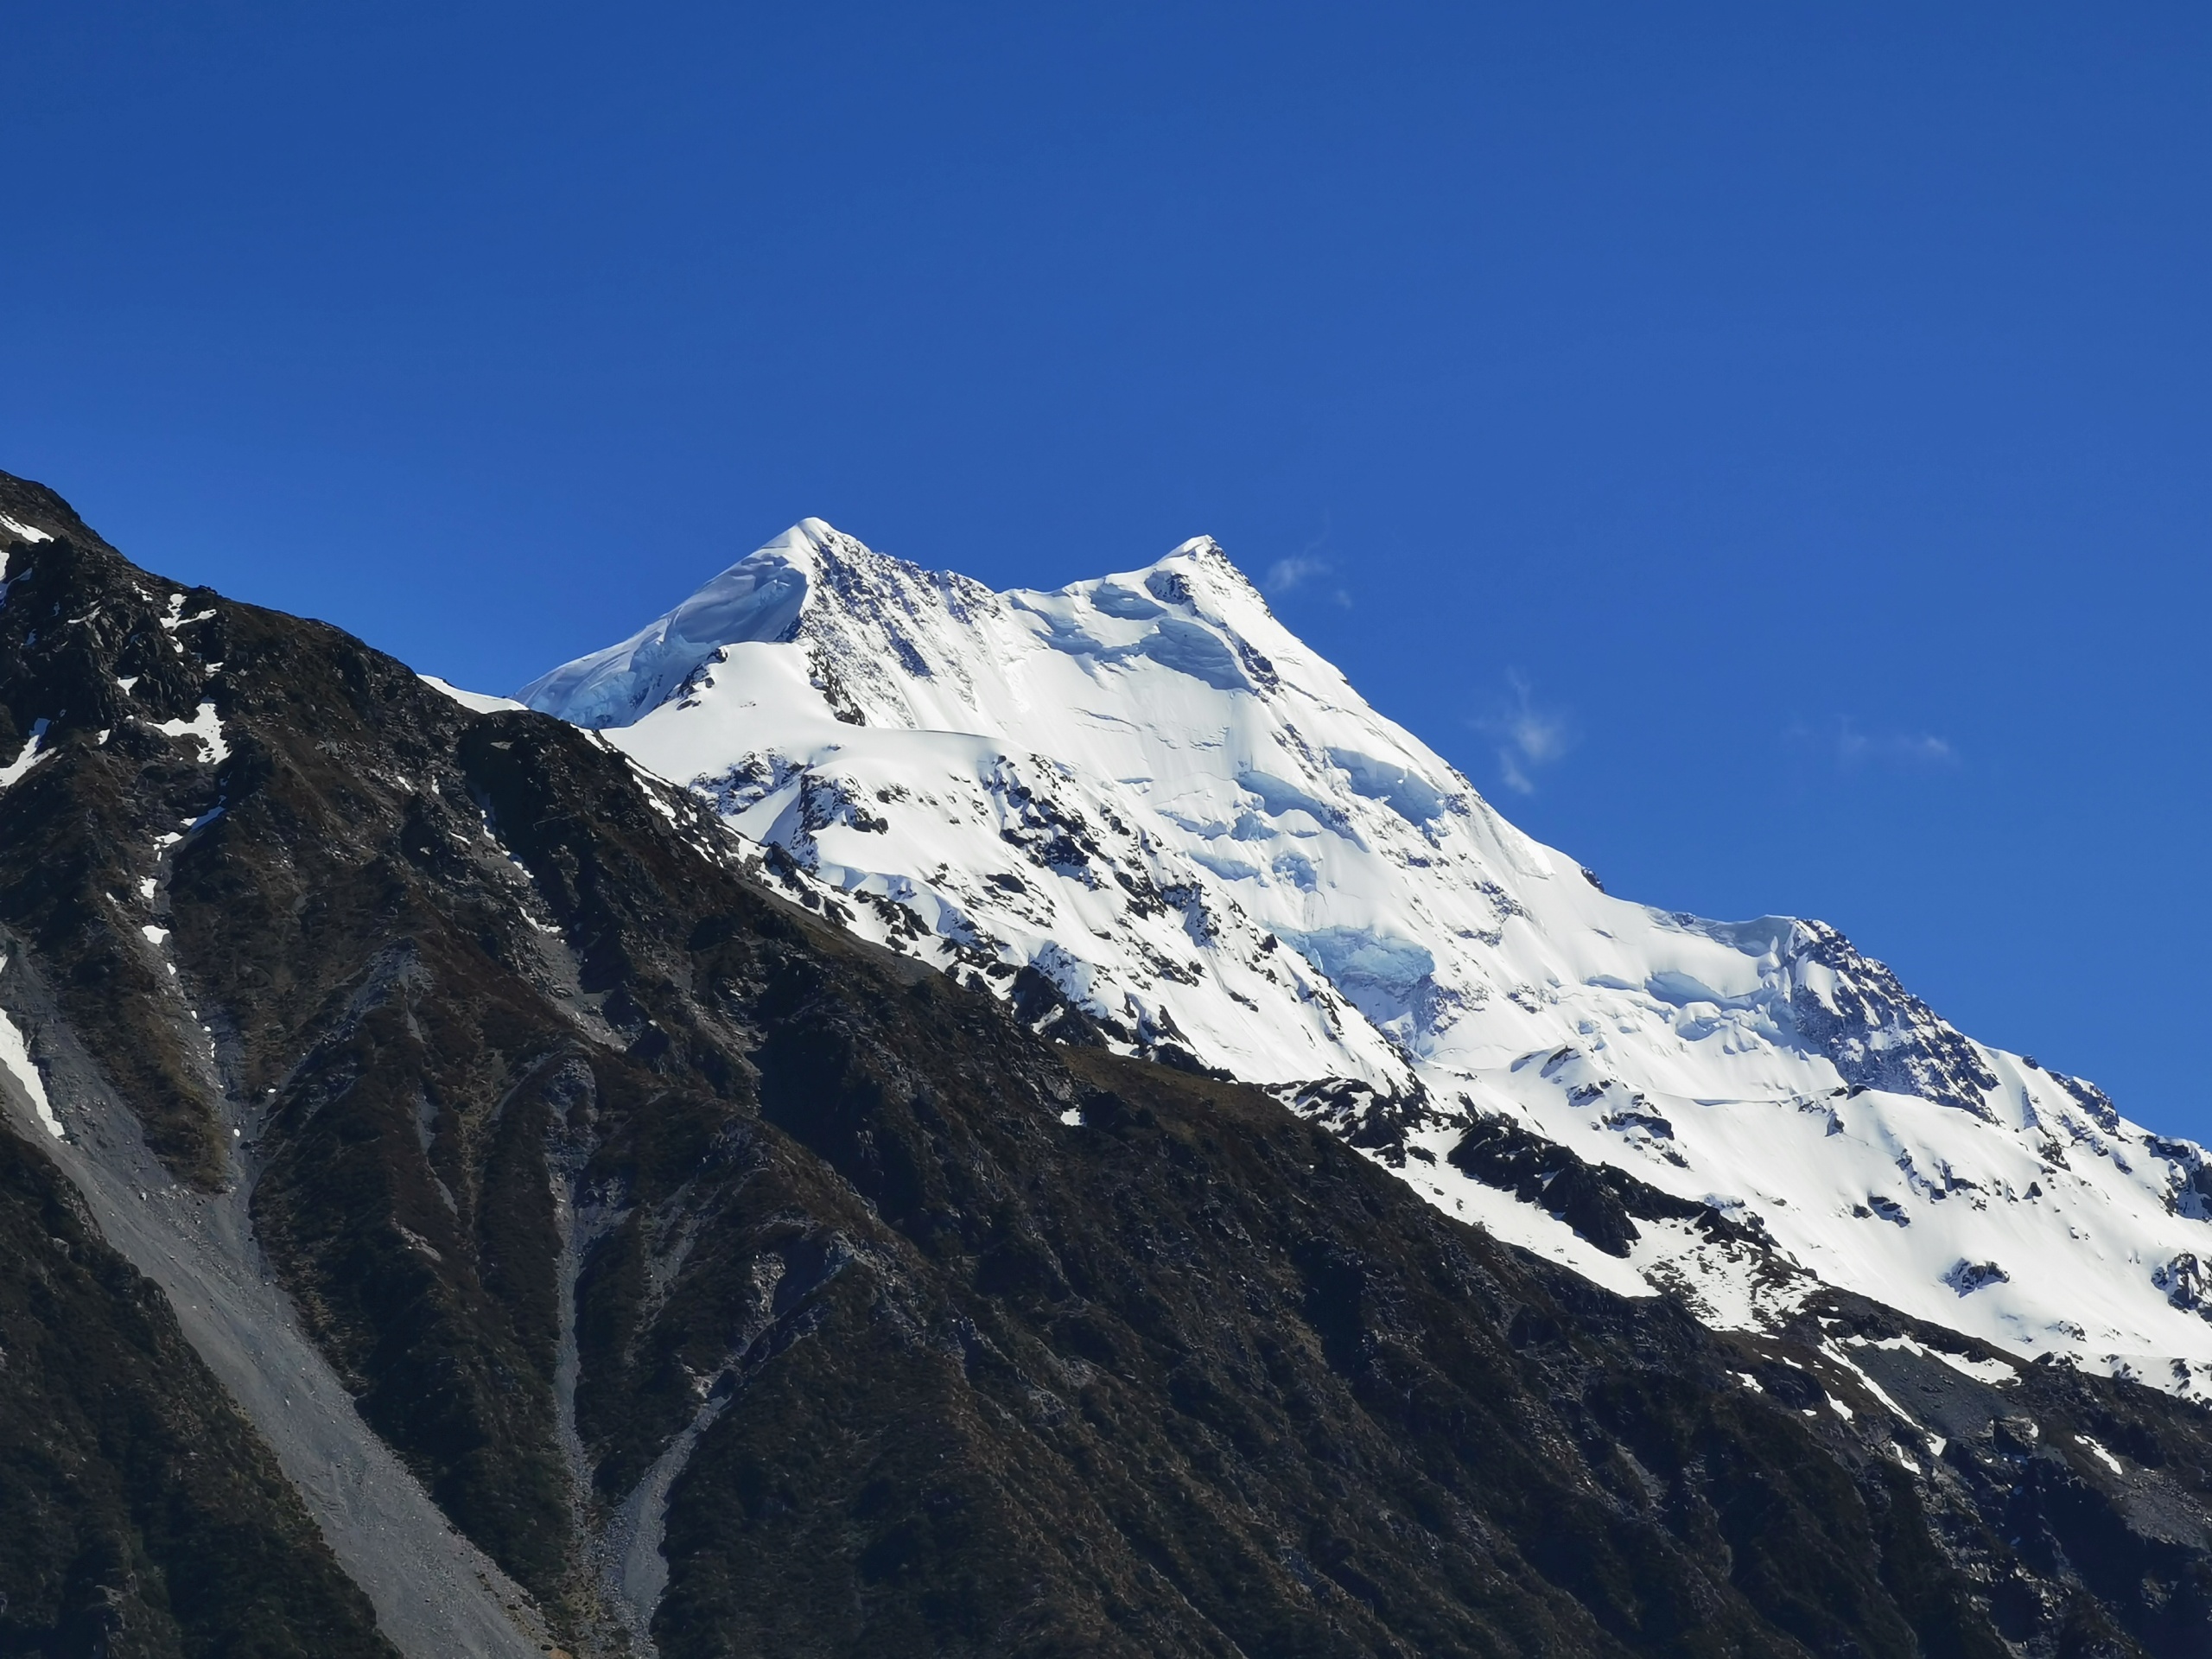
Tip of Aoraki Mount Cook

Hooker Valley looking towards Aoraki Mount Cook